If your Oracle Fusion Cloud environment has Multi-Factor Authentication (MFA) enabled, you need to use JWT (JSON Web Token) authentication to connect BI Connector to Oracle Fusion Cloud Applications.
This article walks you through the steps to connect BI Connector to Oracle Fusion Cloud using JWT authentication.
Before you begin, complete the one-time JWT setup using one of the following methods, depending on your requirements:
- Option A: Fusion instance with OCI Identity Domain (IDCS): Works with Data Models, Analysis Reports, and Subject Areas. Follow How to Set Up JWT Authentication for Oracle Fusion Cloud Applications.
- Option B: Fusion instance without OCI Identity Domain (IDCS): Works with Data Models only (not Analysis Reports or Subject Areas). Follow How to Set Up JWT Authentication for Oracle Fusion Cloud Using Fusion Security Console.
Step 1: Open BI Connector and Go to Data Sources
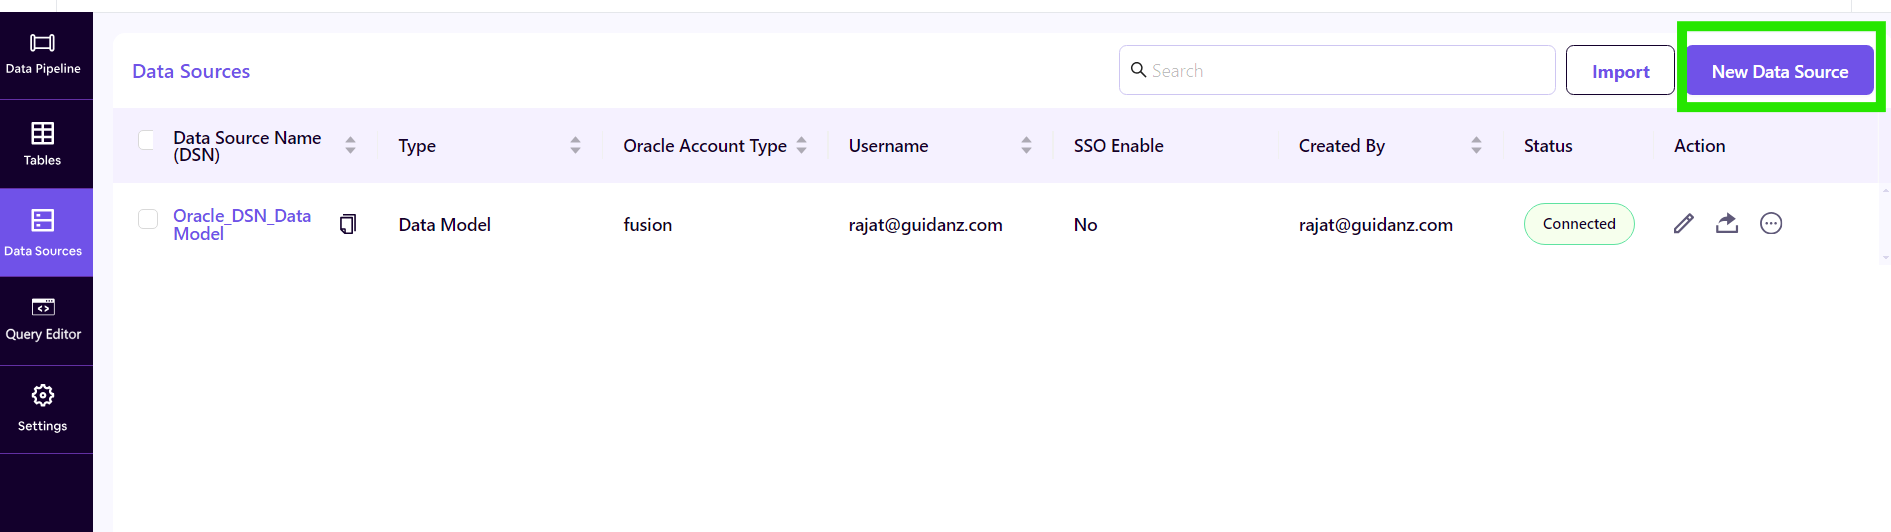
Launch the BI Connector application. From the left sidebar, click on the Data Sources tab. You will see the Data Sources listing page. Click the + New Data Source button to begin.
Step 2: Enter the Data Source Name
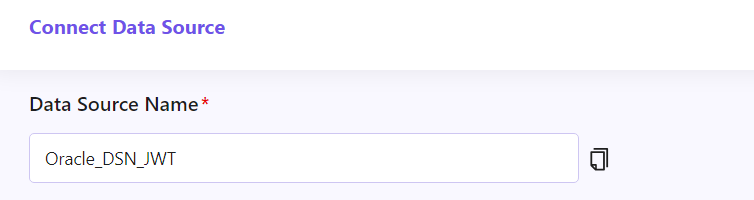
In the Data Source Name field, enter a name for your Data Source. For example, Oracle_DSN_JWT. This name helps you identify the data source later.
Step 3: Select the Data Source Type
Under Data Source Type, select the option that matches your use case: Data Model, Analysis (Reports), or Subject Area.

Step 4: Enter the Oracle Account URL
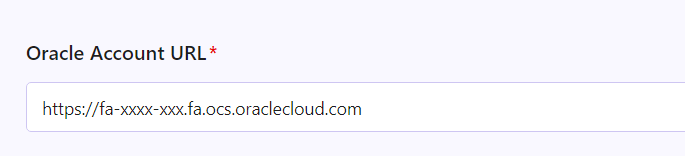
In the Oracle Account URL field, enter your Oracle Fusion Cloud instance URL (for example, https://fa-xxxx-xxx.fa.ocs.oraclecloud.com).
Step 5: Select JWT as the Authentication Type
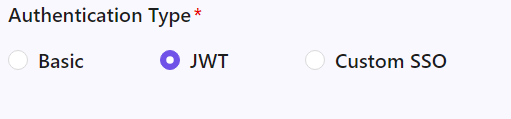
Under Authentication Type, you will see three options: Basic, JWT, and Custom SSO. Select JWT.
Once you select JWT, additional fields will appear for the OAuth credentials.
Step 6: Fill in the JWT Authentication Details
The fields you need to fill in depend on which setup option you completed. Choose the matching flow below.
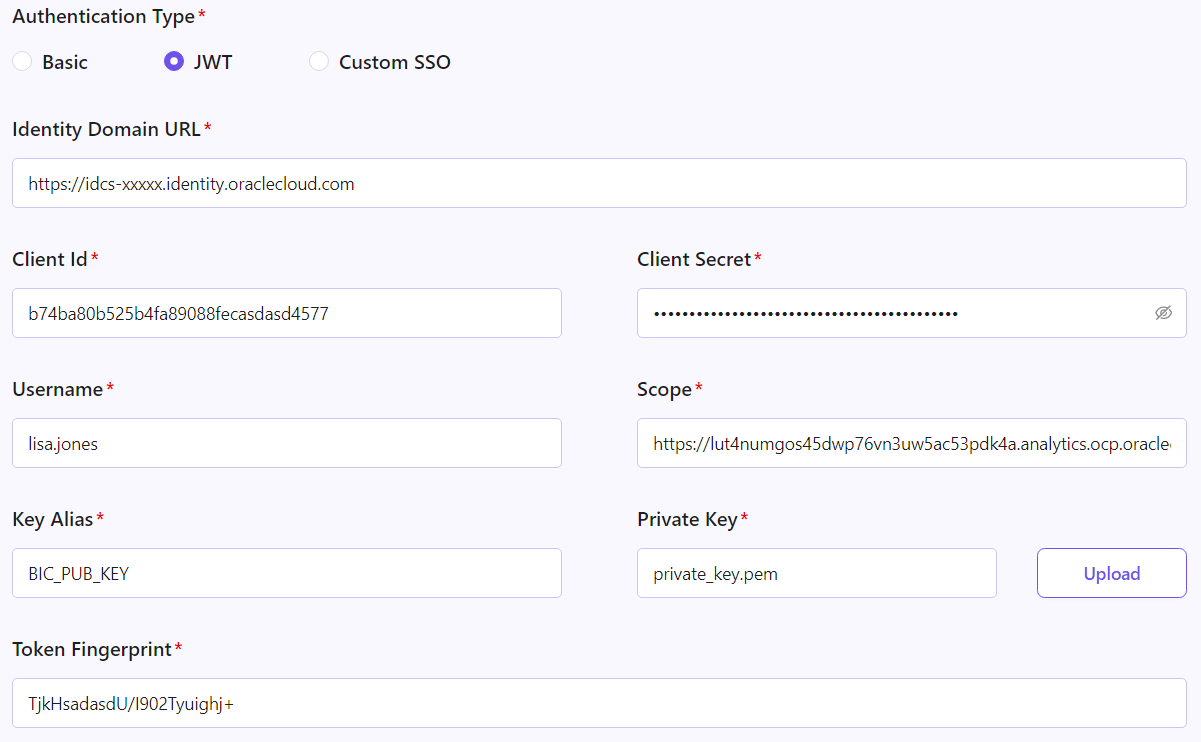
Option A: Full Setup (OCI Identity Domain + Security Console)
Use these values if you followed How to Set Up JWT Authentication for Oracle Fusion Cloud Applications.
Enter the following values:
Field | What to Enter |
|---|---|
Identity Domain URL | Your OCI Identity Domain URL. It looks something like https://idcs-xxxxx.identity.oraclecloud.com. |
Client ID | The Client ID from the OAuth Confidential Application you created in OCI Identity Domain. |
Client Secret | The Client Secret from the same application. Click the eye icon to verify your input. |
Username | Your Oracle Fusion Cloud username that BI Connector will use to authenticate. |
Scope | The OAuth scope you configured in the Confidential Application (for example, urn:opc:resource:consumer::all).The OAuth scope you configured in the Confidential Application. Resource is named Oracle Applications Cloud (Fusion), with scope urn:opc:resource:fa:instanceid=<your-instance-id>:urn:opc:resource:consumer::all |
Key Alias | The alias you assigned to the public certificate when uploading it to the OAuth Confidential Application. |
Private Key | Click Upload and select your private_key.pem file. This is the private key generated during the X.509 key pair creation. |
Token Fingerprint | The Base64-encoded SHA-1 fingerprint (x5t) of your public certificate. |
Option B: Security Console Only
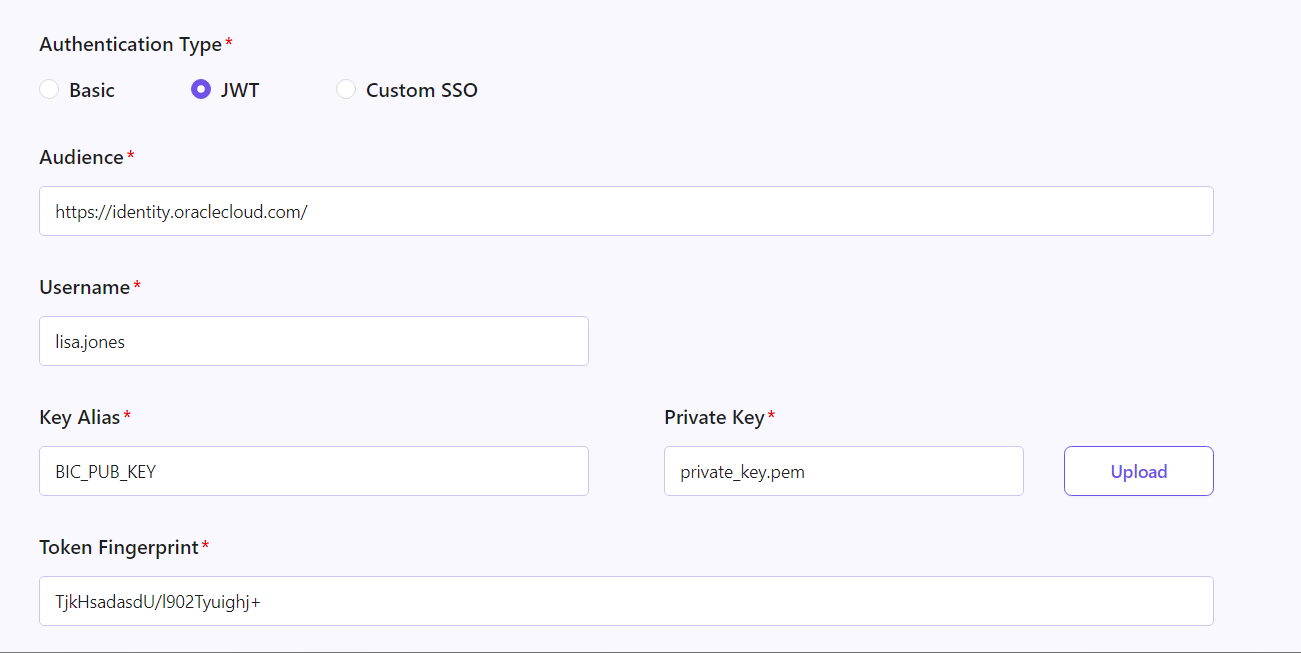
Use these values if you followed How to Set Up JWT Authentication for Oracle Fusion Cloud Using Fusion Security Console. This method only supports Data Model connections.
Required Config Change for Option B
Since the Security Console only method doesn't use the Resource Owner grant type, you need to disable it in the BI Connector config file before entering the credentials below:
Close BI Connector if it's running.
- Stop BI Connector Service from window services.
Open the following file as Administrator (right-click your text editor, e.g. Notepad, and select Run as administrator, then open the file from there):
C:\ProgramData\Guidanz\BI Connector\config\bip-connector.yml
Find the line disableResourceOwner: true. If it's commented out, remove the comment marker (#); if the line doesn't exist, add it.
Save the file.
Restart the BI Connector service.
Reopen the BI Connector application.
Note: This config change is only required for Option B (Security Console Only). Option A does not need this step.
Once the service is restarted and the app is reopened, fill in the following fields:
Step 7: Test and Save the DSN
Once all the fields are filled in, click the Test & Save button in the top-right corner. The Data Source will be validated and your new data source will appear in the Data Sources list.
You can now start accessing your Oracle Fusion Cloud data by navigating to the Tables tab in BI Connector and creating tables against this data source.